

How To Start Hawkmoon Quest Season 15
With but a few weeks left for Destiny 2's Season of the Hunt, Guardians have been searching for a means of obtaining duplicates of Hawkmoon, an Exotic Hand Cannon that tin can roll with random perks.
Bungie has finally delivered a means of target farming this fan-favorite Exotic. Thanks to the "Bird of Prey" quest from the Crow, Guardians can now consummate a unique mission to obtain duplicate Hawkmoons. Known equally "Harbinger," this mission combines the exhilarating aspects of Goose egg Hour and the "Let Loose Thy Talons" quest. Here's a consummate guide to completing this hard mission in Destiny ii's Season of the Hunt.
Birds Of A Plumage
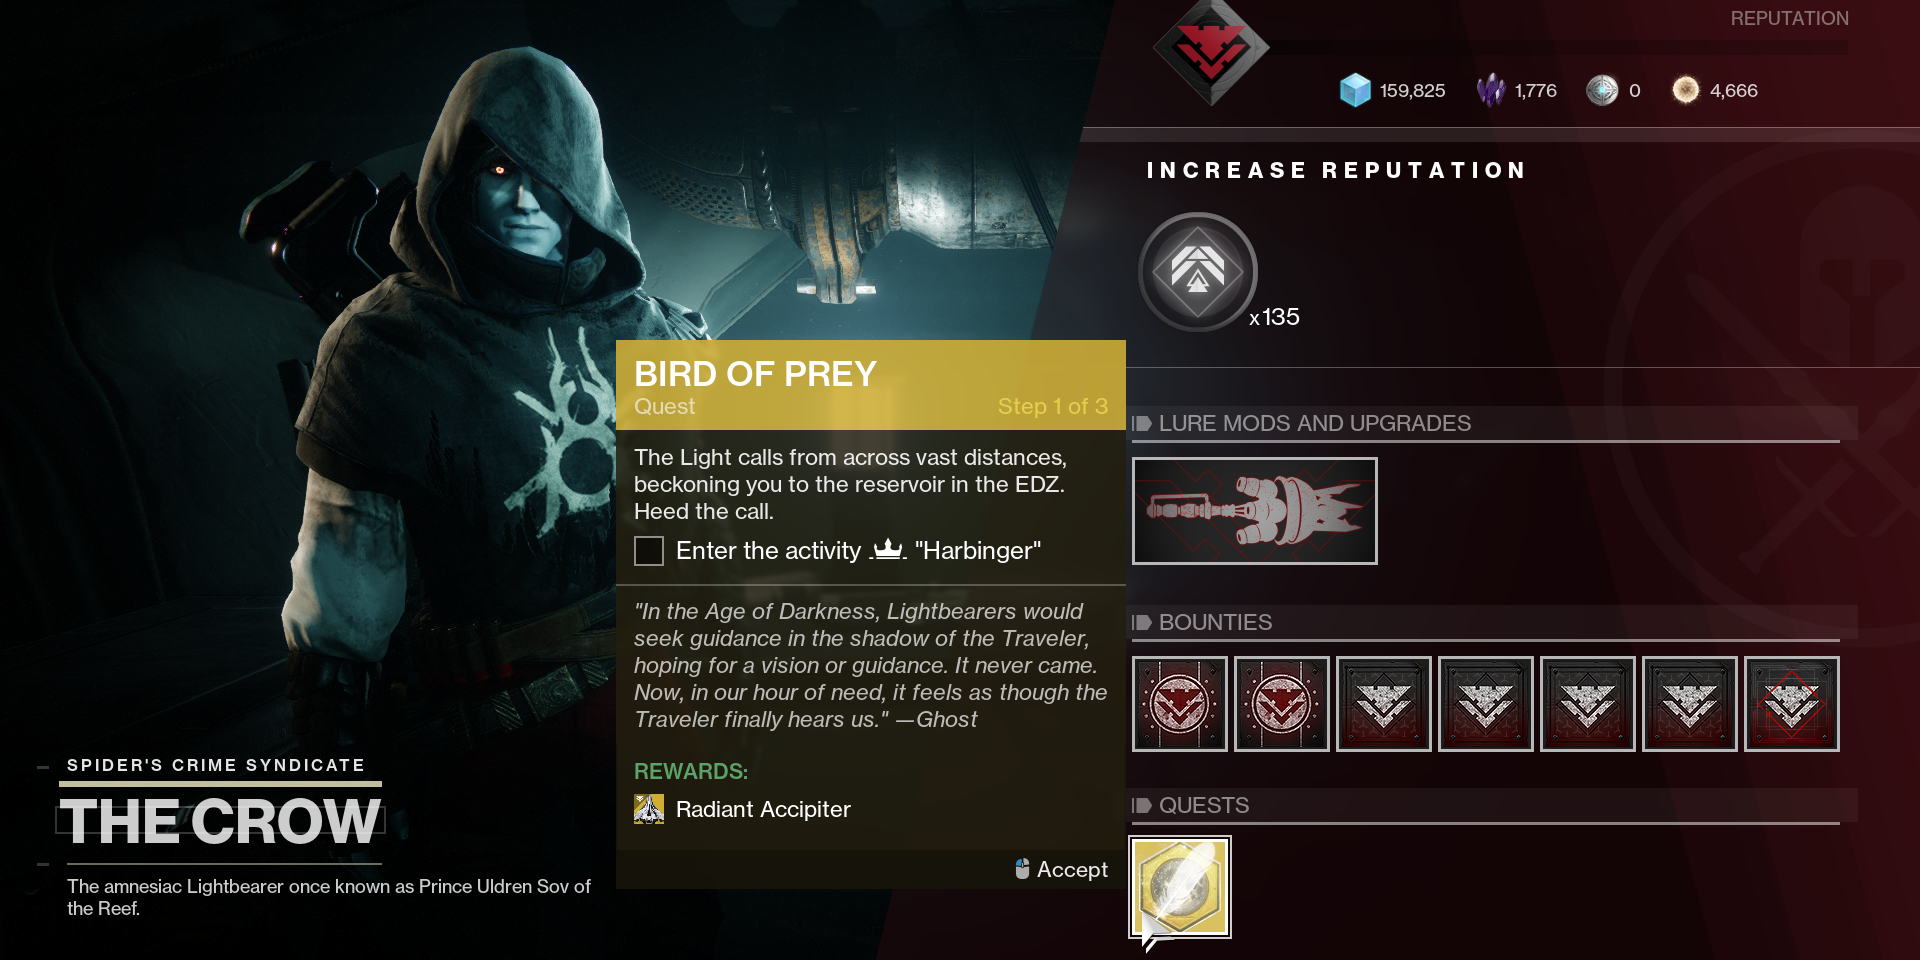
Obtaining random Hawkmoon rolls will crave you to complete the "Harbinger" mission, not to be confused with the title. To unlock this mission, speak to the Crow in the Tangled Shore. He will take a quest in his inventory named "Bird of Prey" that you can claim. Offset the quest, then head to the EDZ.
How To Start The Harbinger Mission
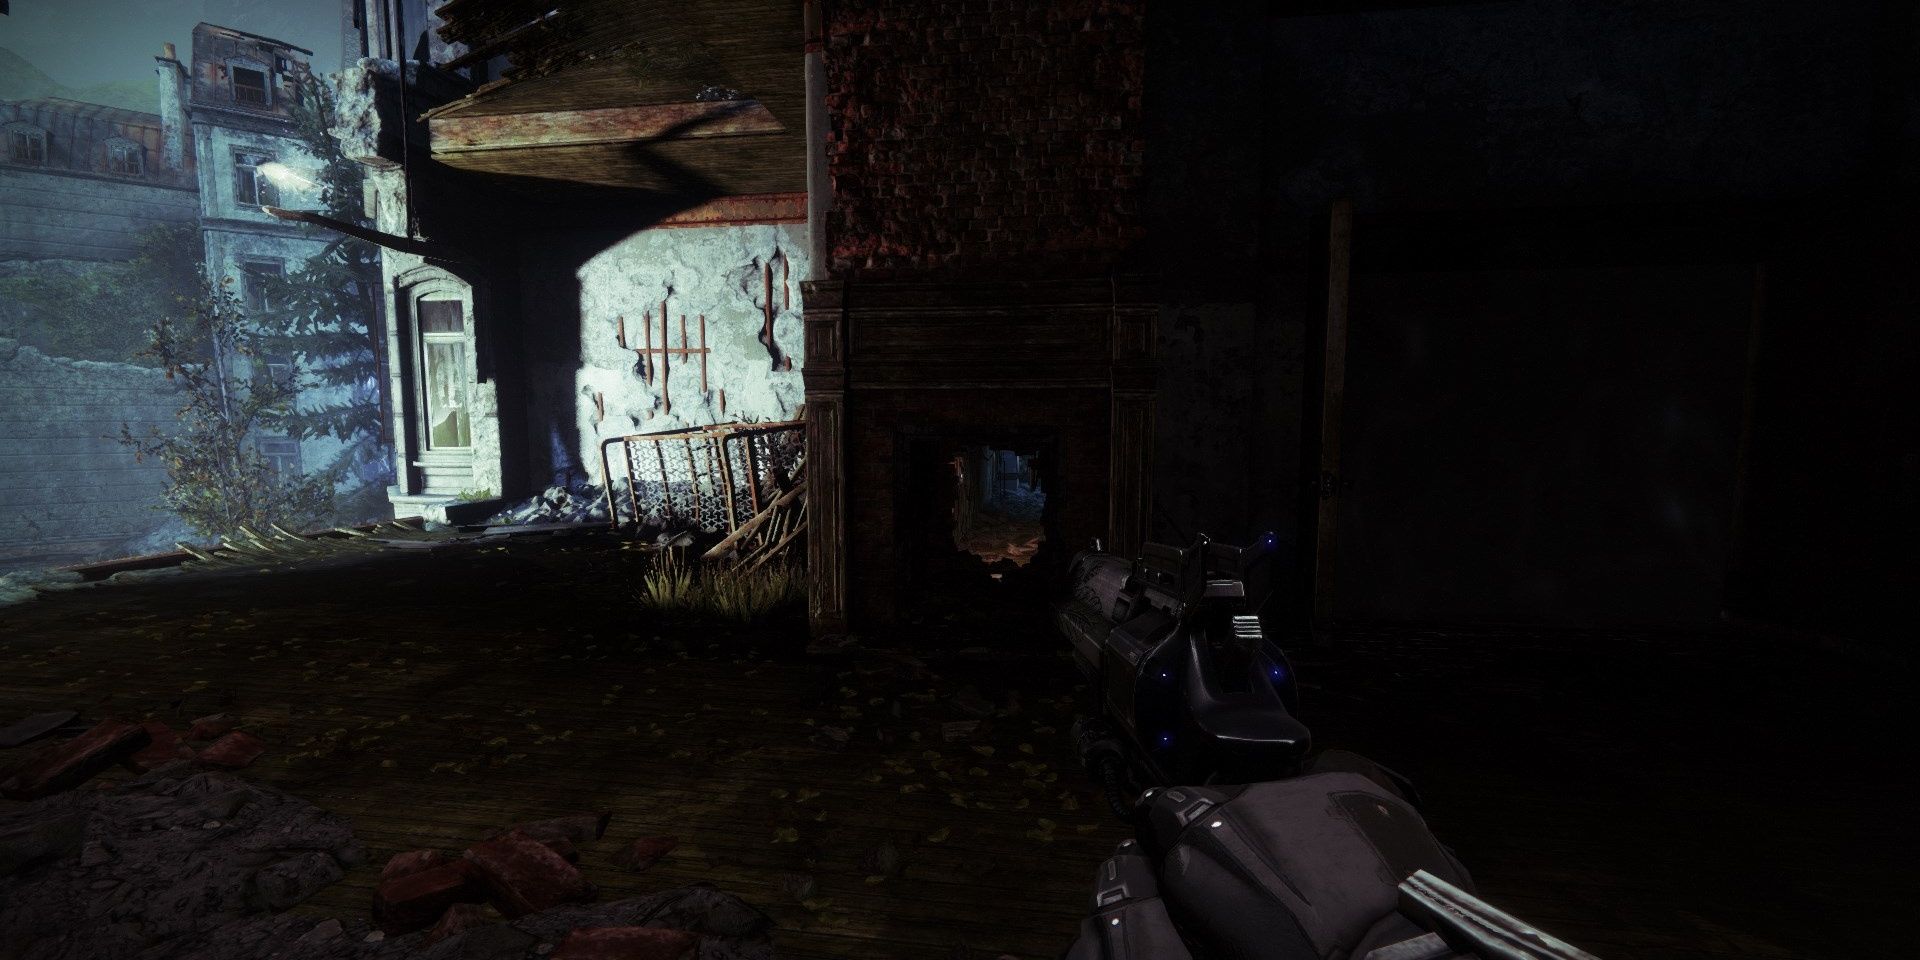
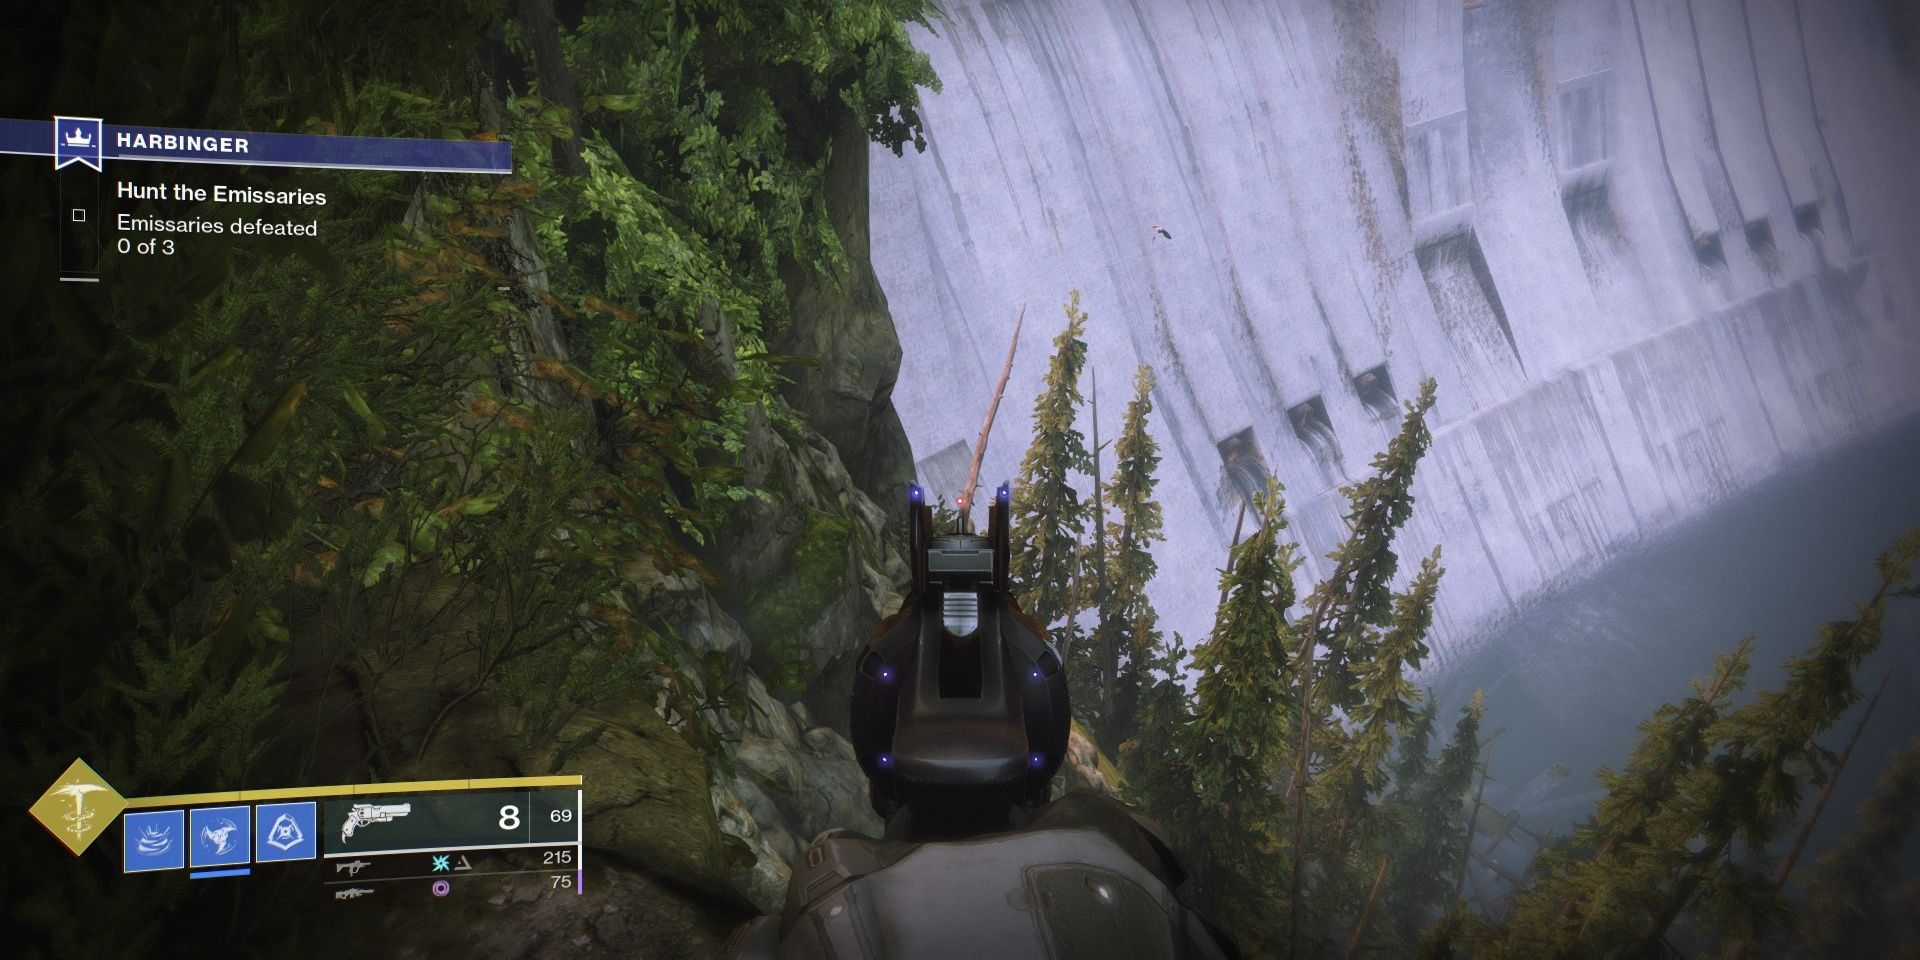
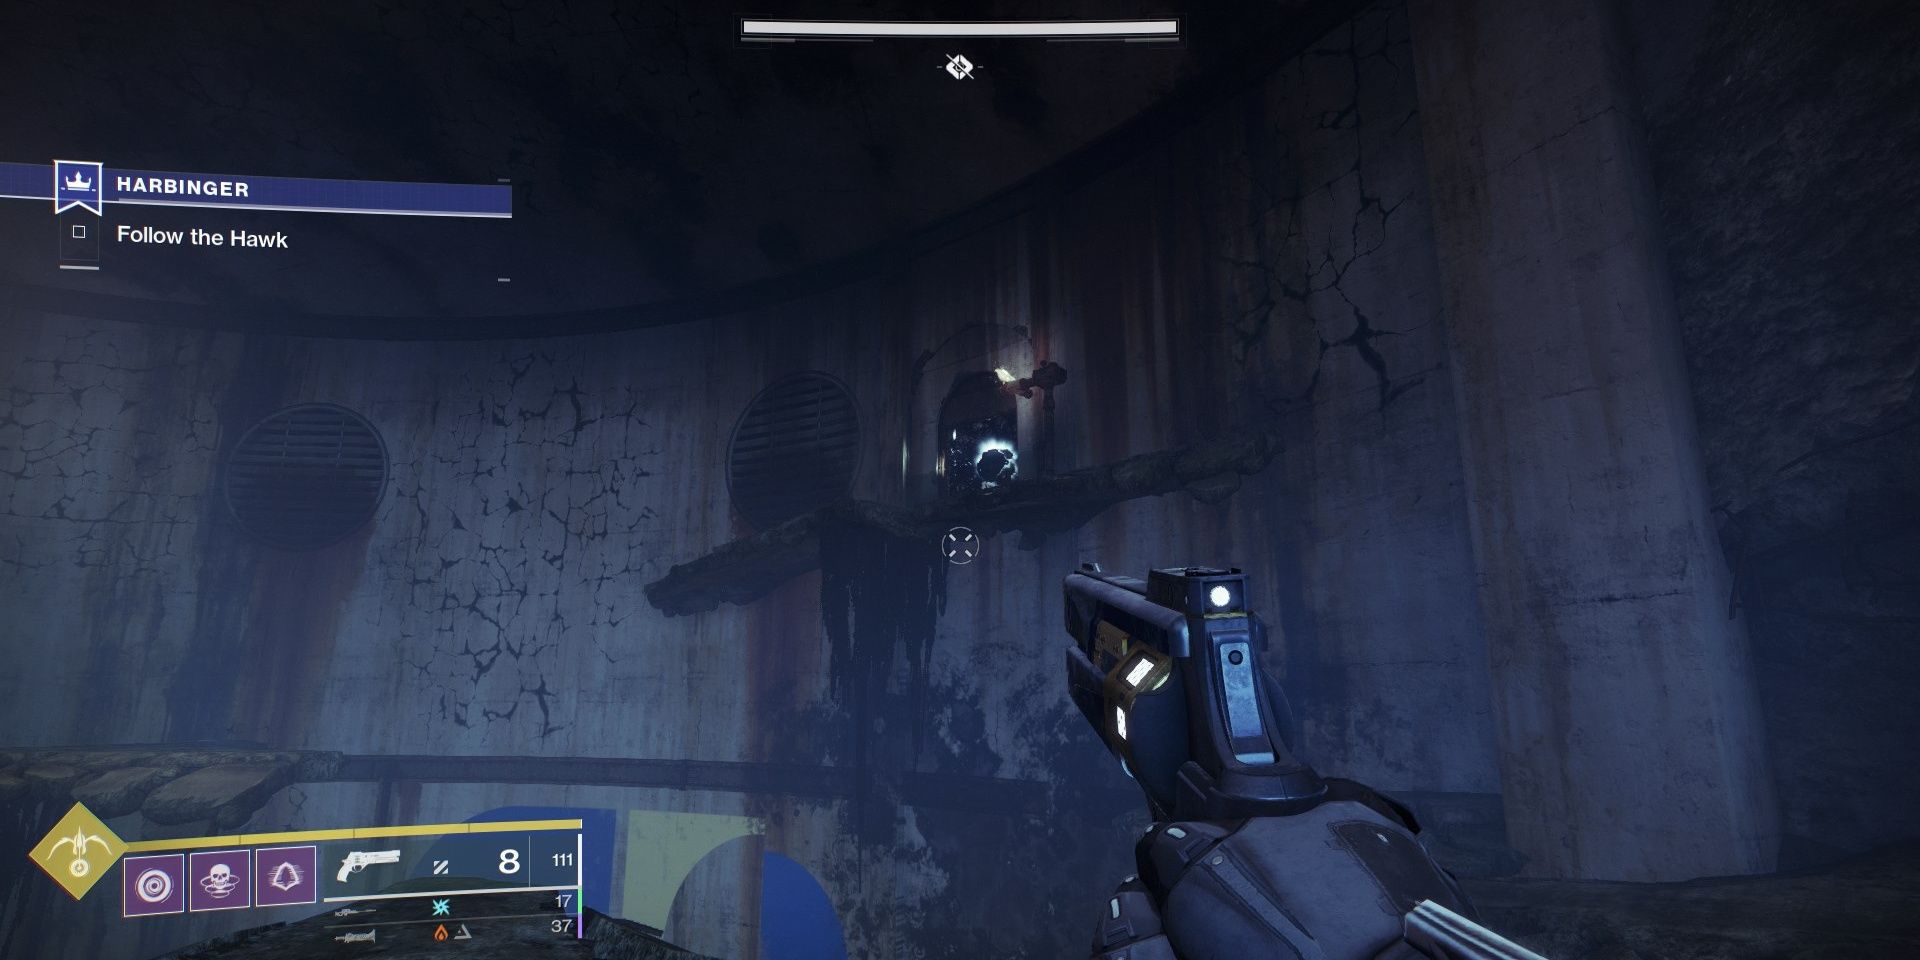
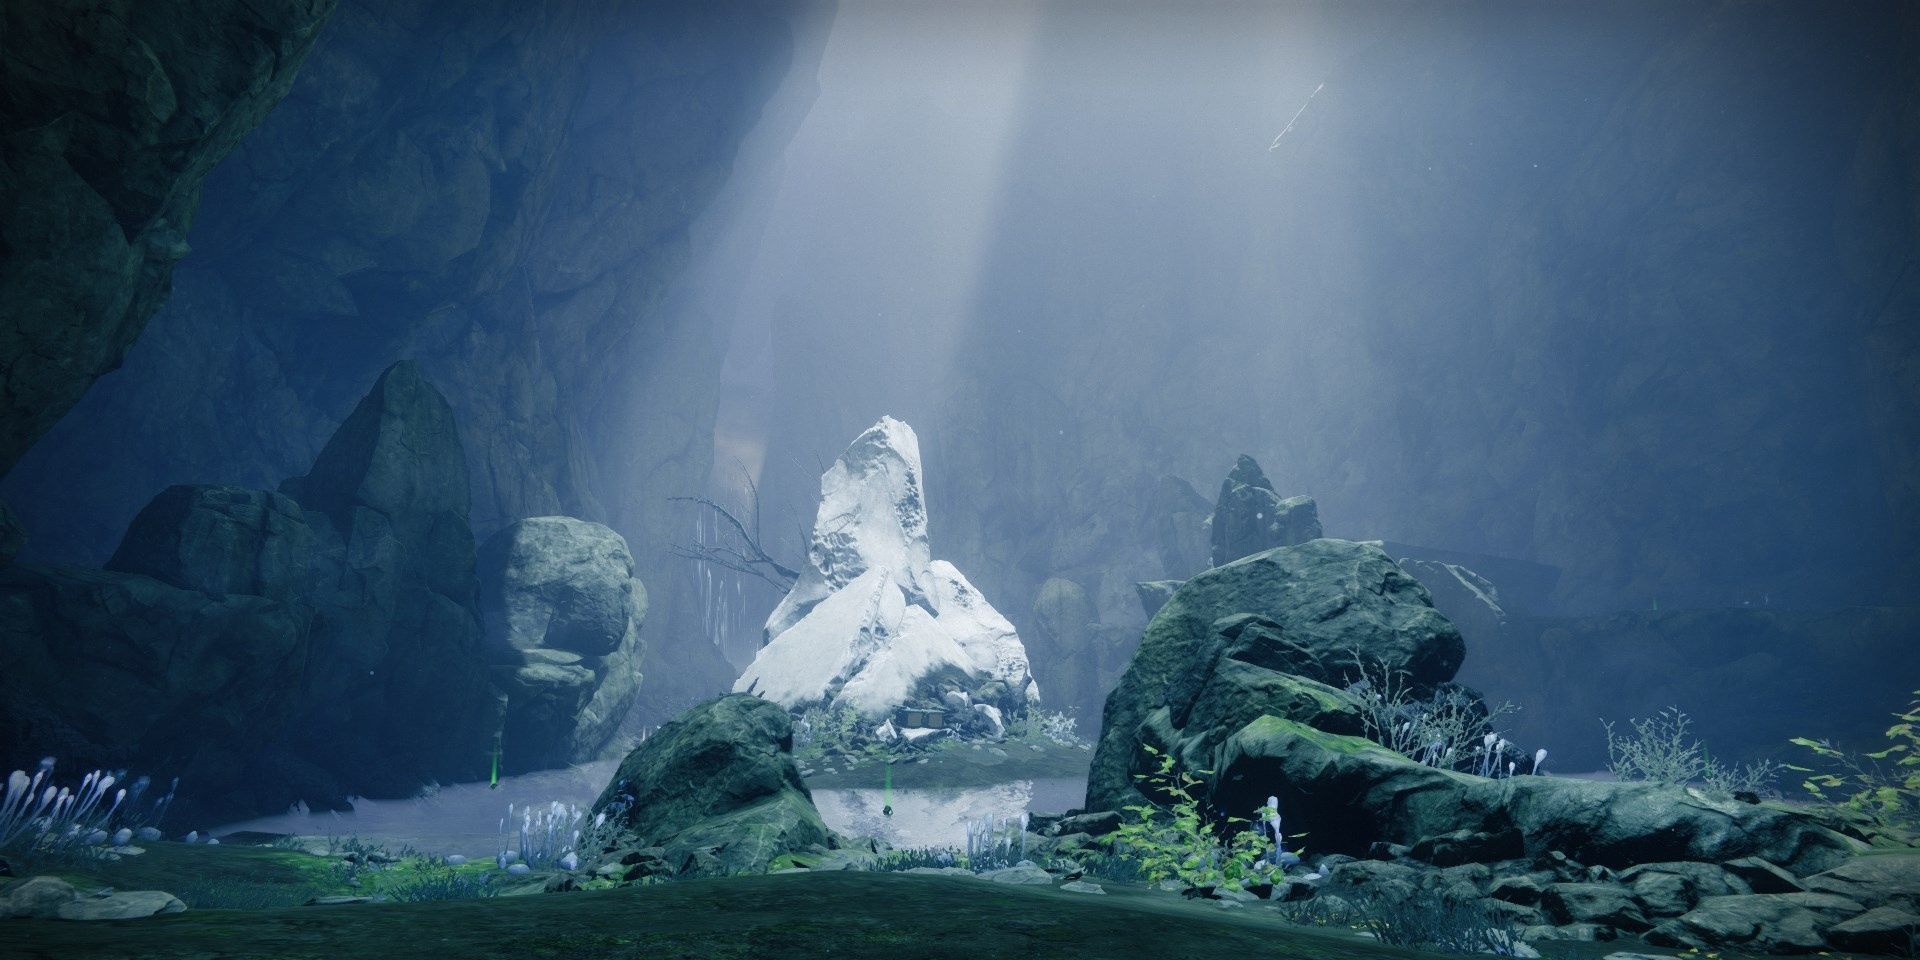
Travel to Trostland in the EDZ. When you spawn, head to the two-story building in the bottom right quadrant of Trostland. On the 2nd floor, you will notice a wooden board on a wall that seems out of place.
This is the lath in question:
Shooting it volition crusade the board to react, withal it will exist impervious to everything except Hawkmoon. Equip it, so fire at the board to break information technology open. Crawl into the newfound infinite to find a panel on the wall. Interact with it to start the mission.
Harbinger: Modifiers

Harbinger is similar to the Whisper of the Worm and Zero 60 minutes missions, one major difference being that Straw is non timed. Guardians will demand to complete a brusque jumping section before fighting a gauntlet of minibosses. As with the "Let Loose Thy Talons" quest, the final fight involves defeating a Hive Knight boss near a shard of the Traveler.
Unlike Whisper and Zero Hour, Harbinger has modifiers. Hither's what you'll be facing:
- Memory of a Golden Historic period:Incoming Solar and ecology damage increased.
- Match Game:Enemy shields are highly resistant to all unmatched elemental impairment.
- Chaff:Rader is disabled.
- Empath:Enhanced radar. Take increased damage from melee.
- Champions: Unstoppable:Unstoppable Phalanxes will dot the level. Stagger them with an Unstoppable weapon to remove their harm resistance.
Despite having Empath agile, Chaff disables your radar entirely. The memory of a Golden Age modifier does non boost your Solar damage output.
As for non-modifier aspects of this mission:
- Recommended Power Level: 1,270
- Faction:Taken
- Shields:Void (Acolytes), Solar (Taken Captains), Arc (Taken Phalanxes)
Harbinger: Recommended Loadout

Information technology is highly recommended to find a fireteam before completing this mission. Every combat encounter has dozens of Taken Goblins, Acolytes, and either Knights or Wizards that deal absurd Solar damage. If you decide to tackle this mission alone, utilize the Protective Light Mod and take a ways of healing during gunfights.
Most of the gainsay arenas in Straw lend towards medium engagement ranges. Hand Cannons, Pulse Rifles, and Sniper Rifles work well hither. Hawkmoon does not demand to be used to crush this mission. Enemy density will pressure players into cover, so it is highly recommended to accept a Pathfinder Hunter or a Grace Warlock in your fireteam.
Subclass
- Hunter:Manner of the Pathfinder for its smoke bombs and high-damage Super. Solo Hunters don't have whatsoever alternatives.
- Warlock:Attunement of Grace to heal mid-fight. Well of Radiance is particularly useful for the concluding two combat encounters. Solo Warlocks can also use Attunement of Chaos with the Contraverse Hold Exotic gloves.
- Titan:Lawmaking of the Defender or Siegebreaker for the Ward of Dawn Super and Sunspots, respectively.
Weapons
- Any Void Main:Acolytes swarm this mission, each equipped with a Void shield. Gnawing Hunger and Reckless Oracle are good options.
- Xenophage:Counters Taken Captains and Vandals during the "Survive" section. With the Wrath of Rasputin Mod, it tin likewise generate Warmind Cells.
- The Long Shadow:Deals great damage from a distance. A ringlet with Triple Tap and Field Prep is recommended.
Mods
- Concussive Dampener:Makes fire pools and Phalanx projectiles deal 25% less damage. Stack two Concussive Dampeners for 40% harm resistance.
- Shield-Pause Accuse:An first-class style to earn Charged with Light stacks.
- Protective Low-cal:Grants fifty% harm resistance after your shields break. This is a must for solo flawless runs.
- Warmind Jail cell Mods:Warmind Cells are excellent for the terminal encounter. We cover the best Warmind Prison cell Mods hither.
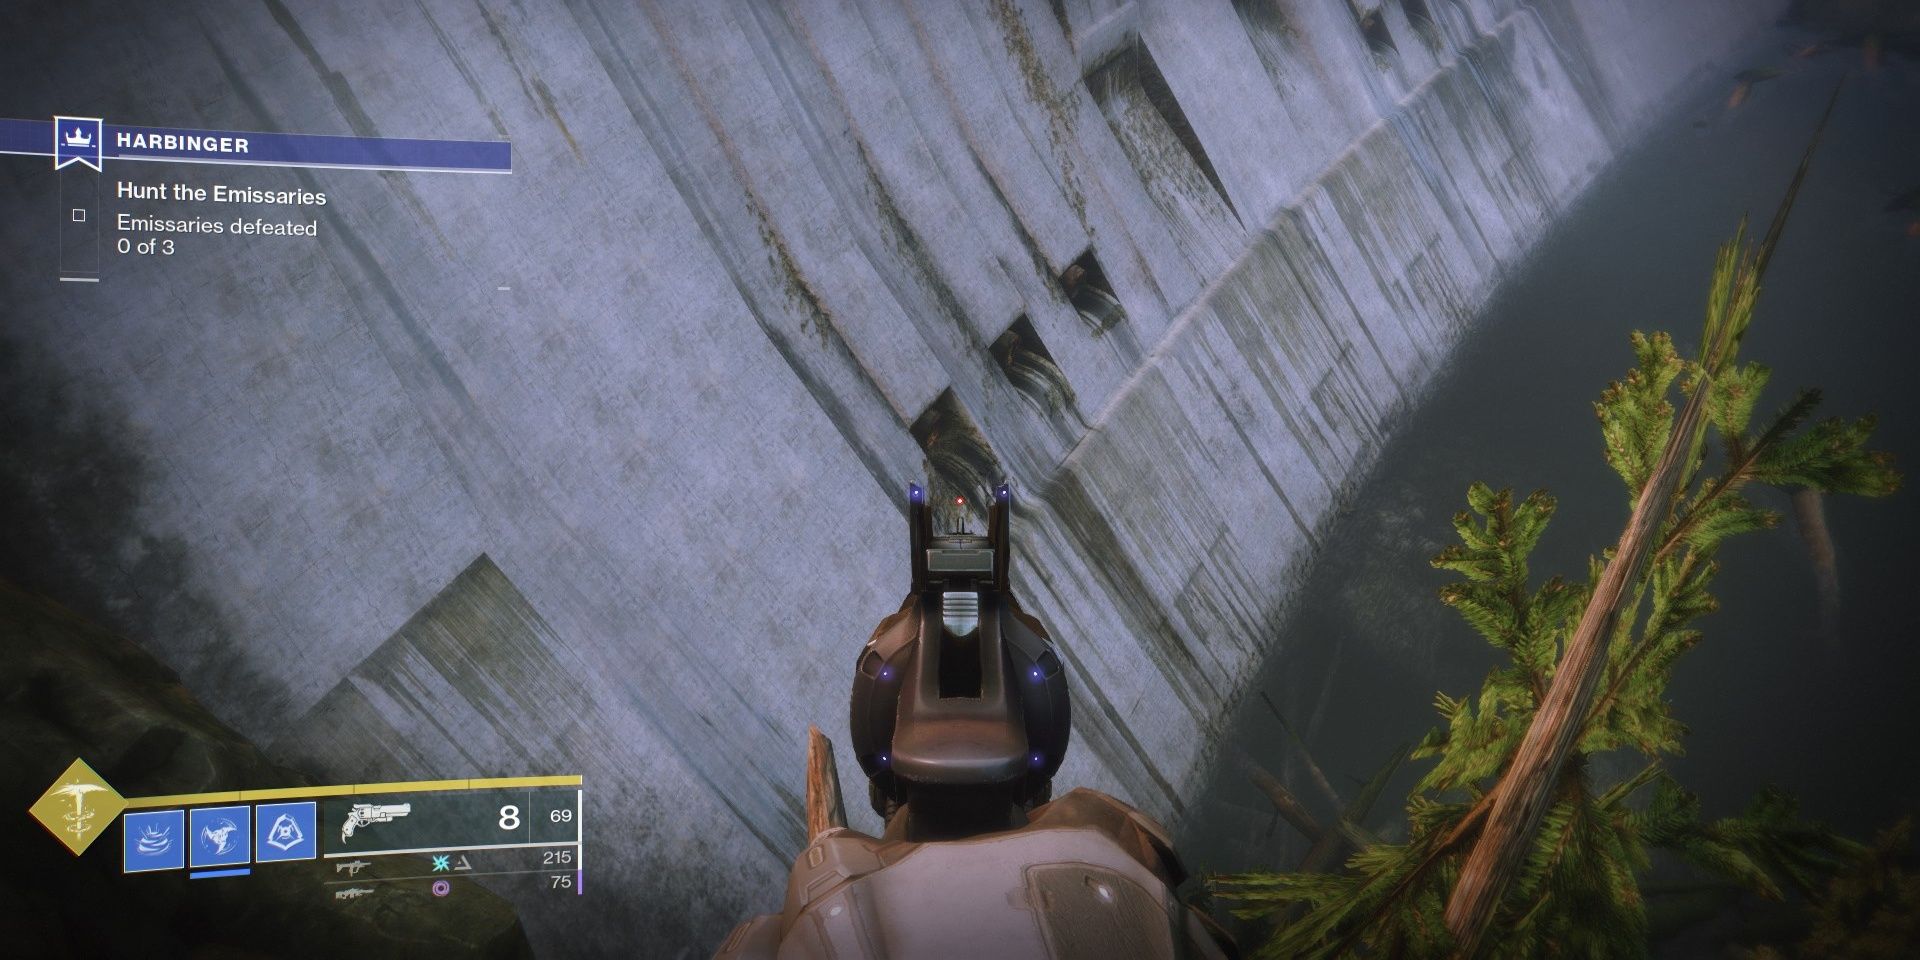
Navigating The Dam
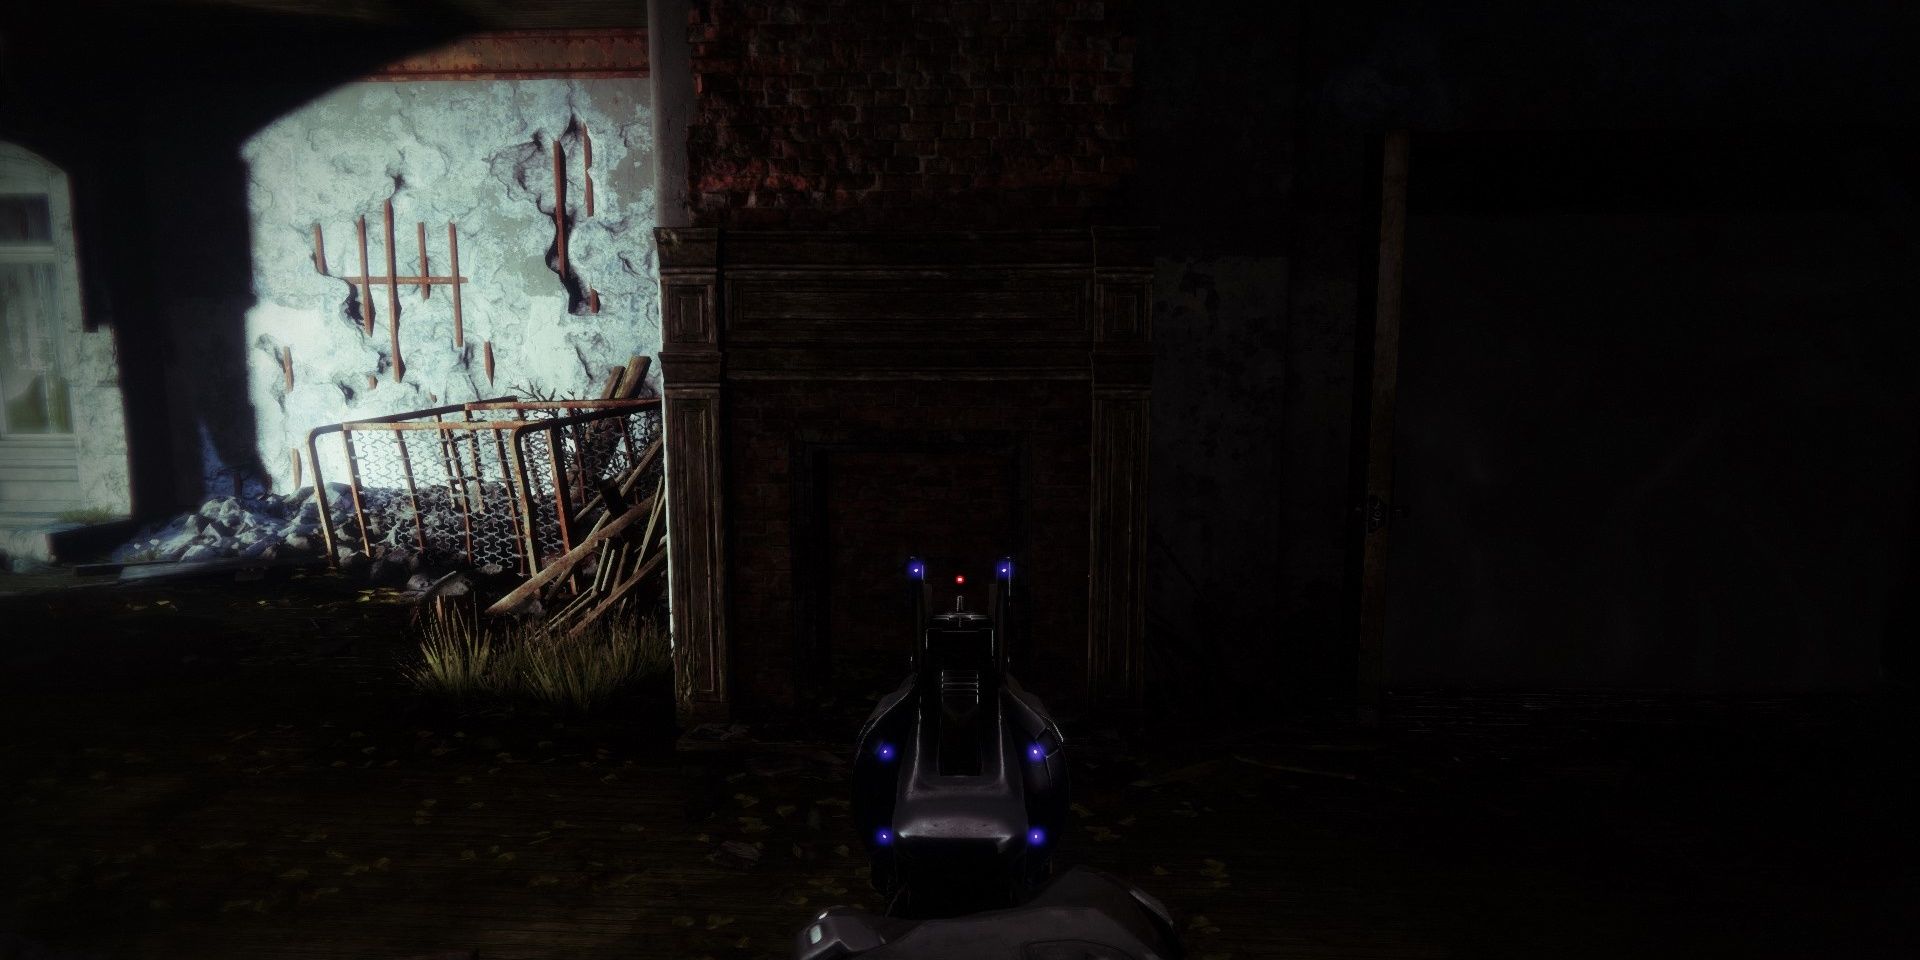
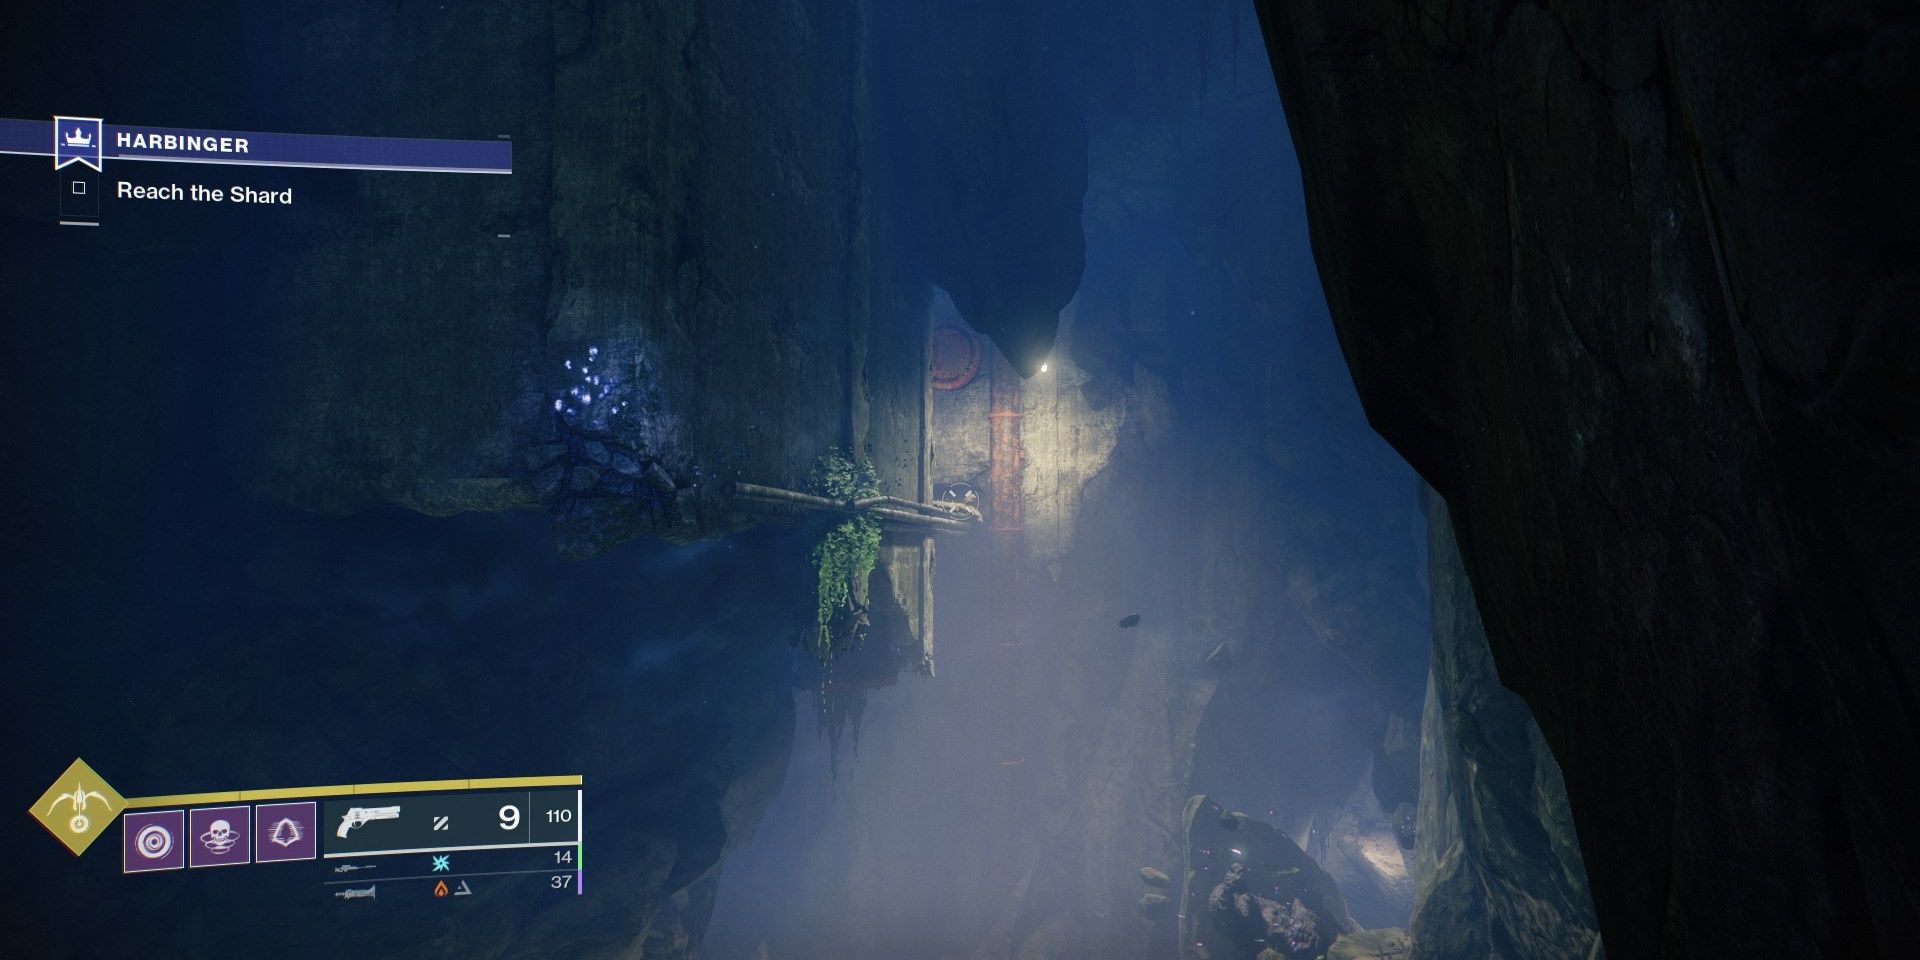
Follow the linear path from the broken board. When y'all reach a narrow hallway, look to your right to find a slit in the wall. It volition look like this:
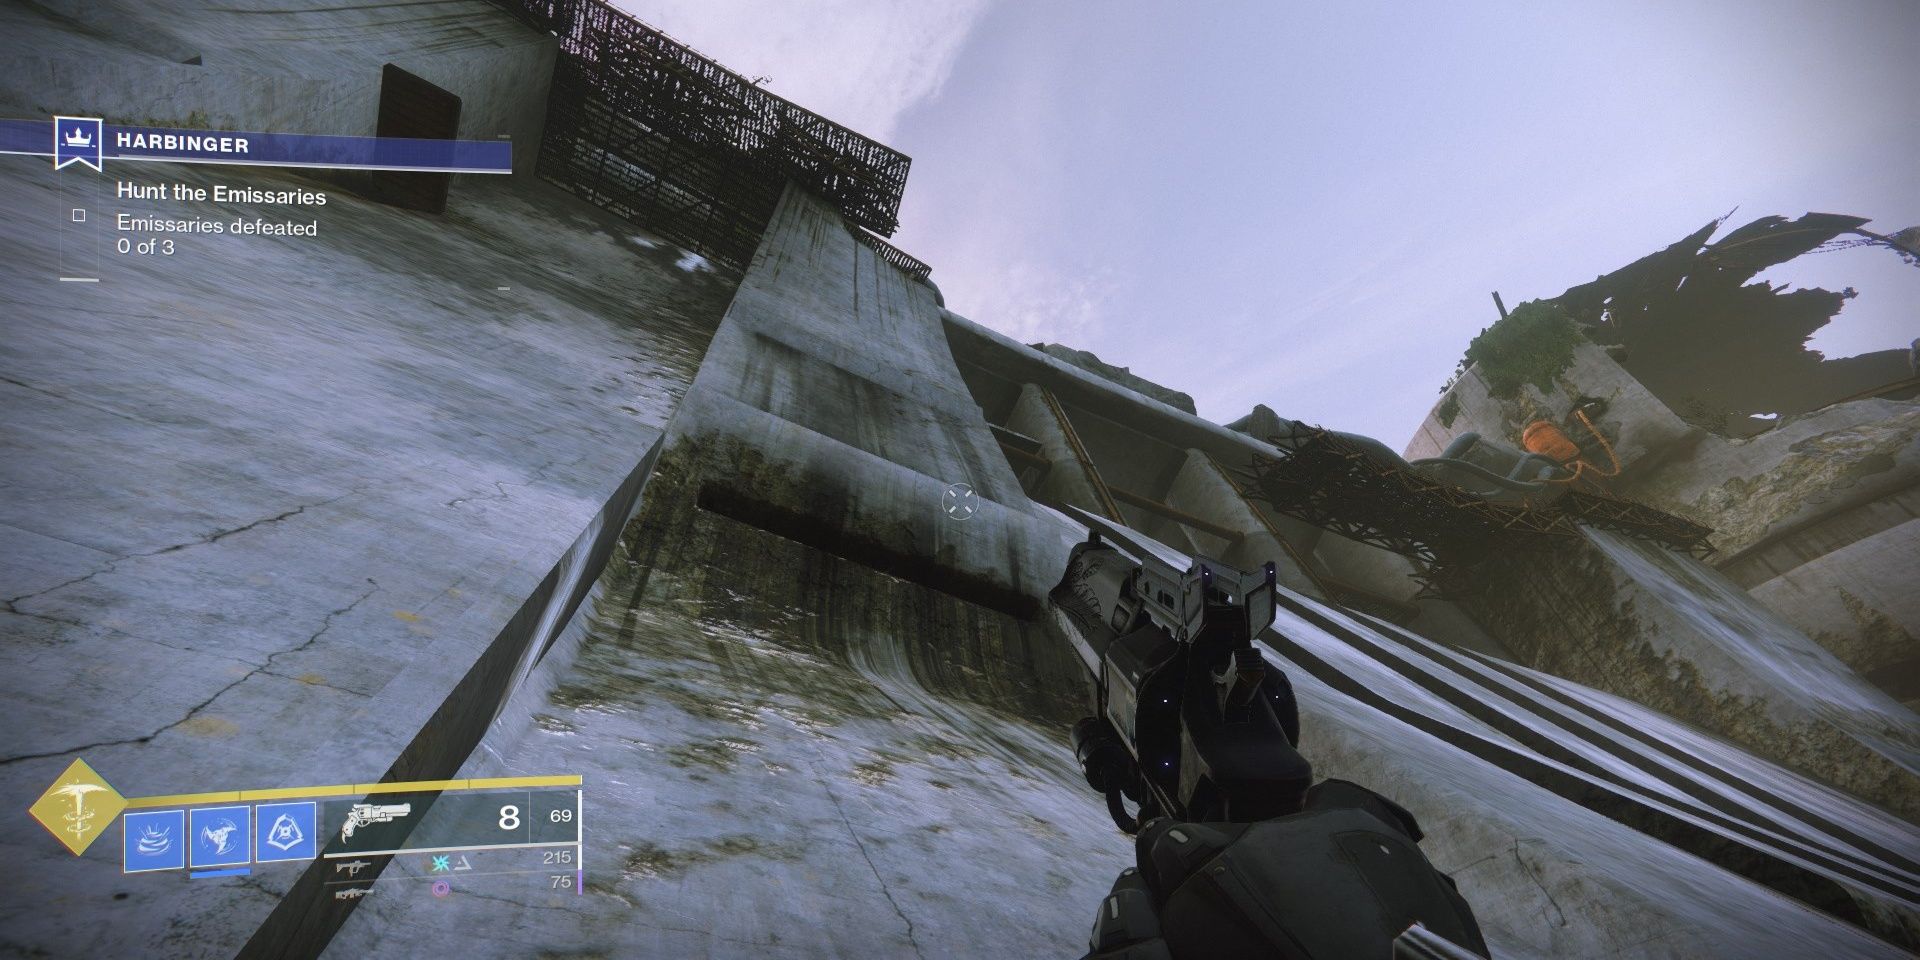
Post-obit that path will take yous outside. A Taken Hobgoblin will be perched near a cliff that'south nigh the dam. Accept it downwards, then jump to the rock information technology was on. Facing the dam, a tree co-operative should exist bulging out of the cliffside directly facing the dam.
Jump to that branch. You will at present see the path to the Lake of Shadows Strike. Ignore those platforms. Instead, jump downward to the base of the dam—non on the water, that will kill yous.
Now that you lot're on the base of the dam, walk past the first trio of pipes. To the right of the third pipe is a small platform that yous can jump onto.
If you lot can't make the jump, run upwards the sloped incline before jumping. Once on the platform, expect correct to find an open up metal hatch perpendicular to the dam wall. Instead of jumping on elevation of the platform, bound under it to observe an entryway.
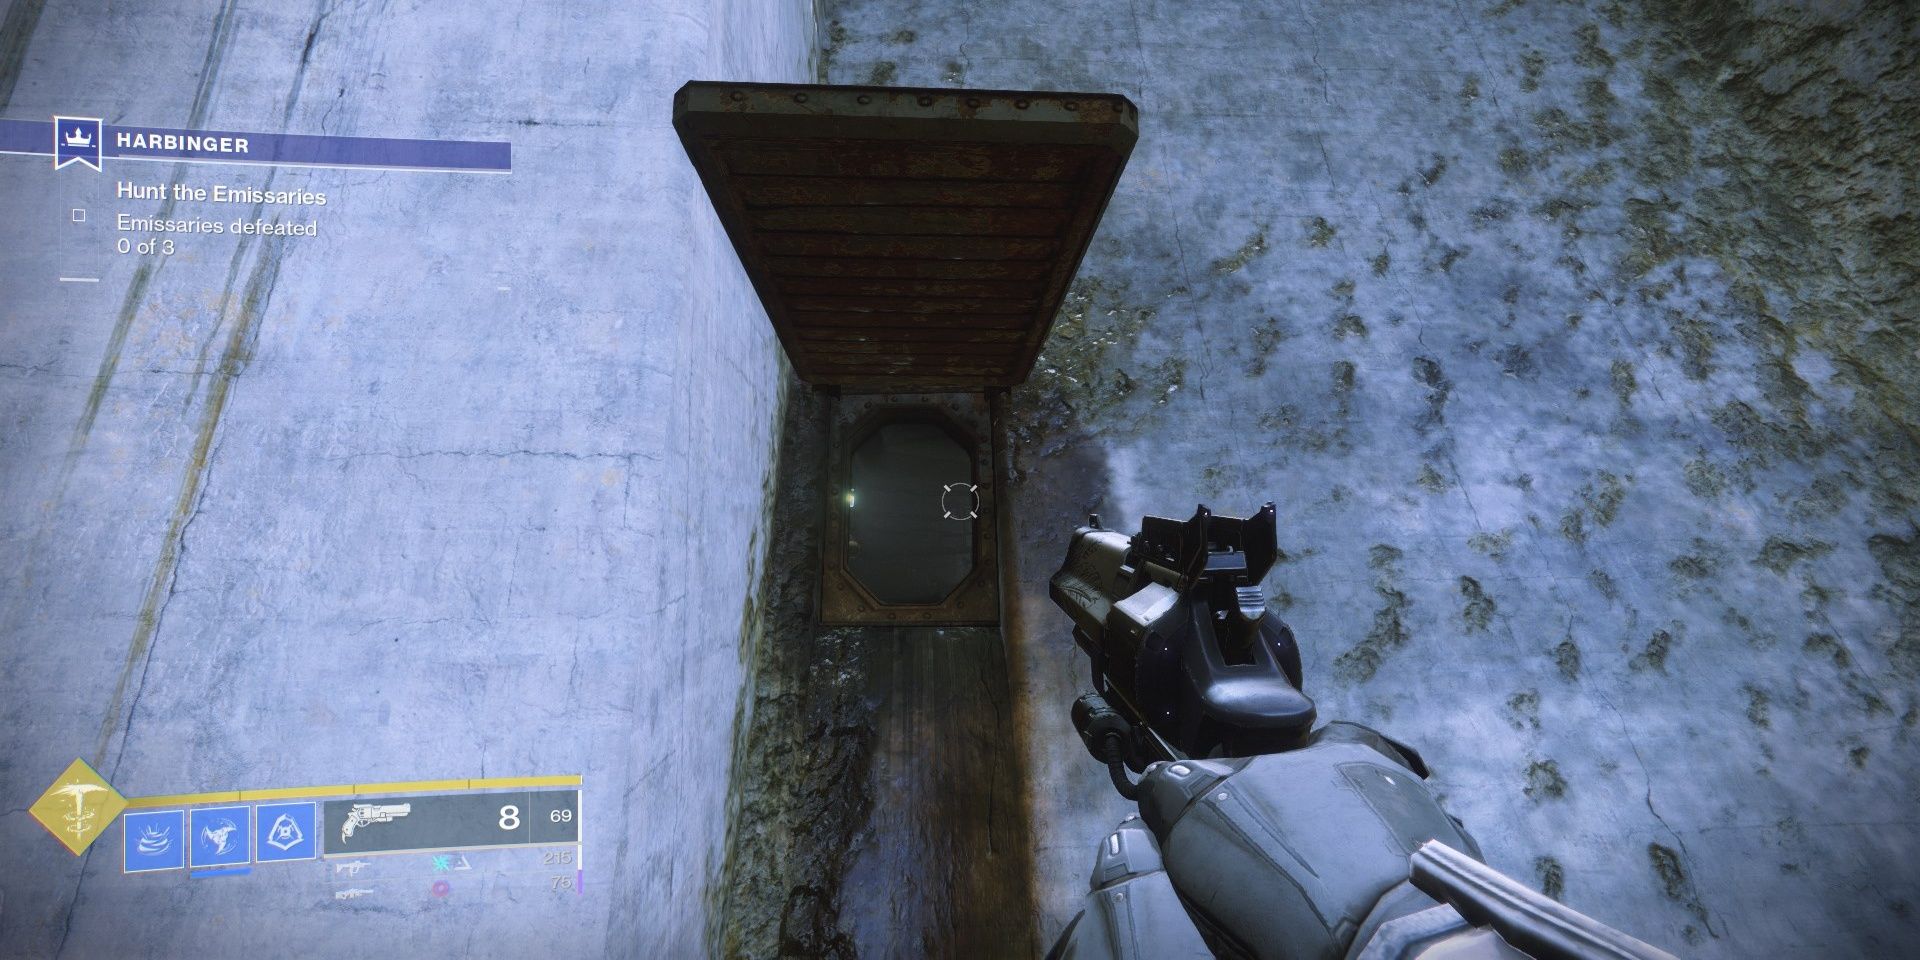
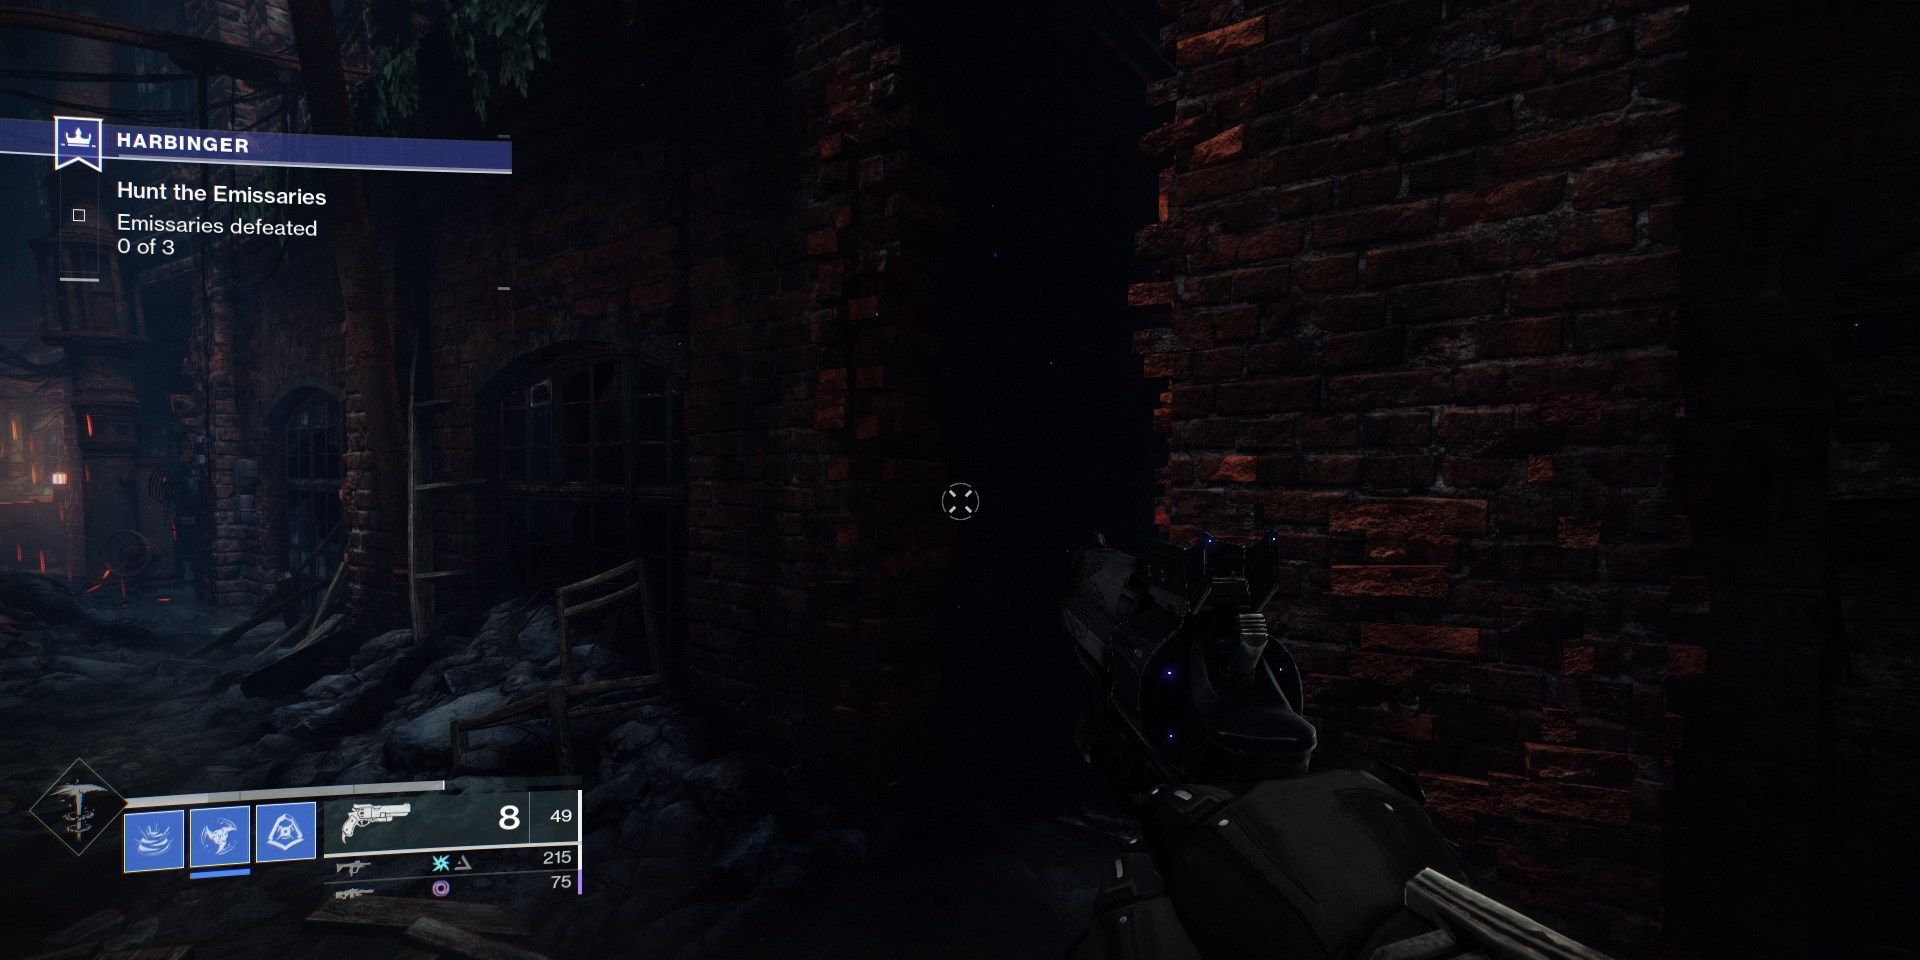
Run through the short sewer to accomplish the lower floor of the dam. When you jump up from the sewer, turn correct to enter the outset combat room.
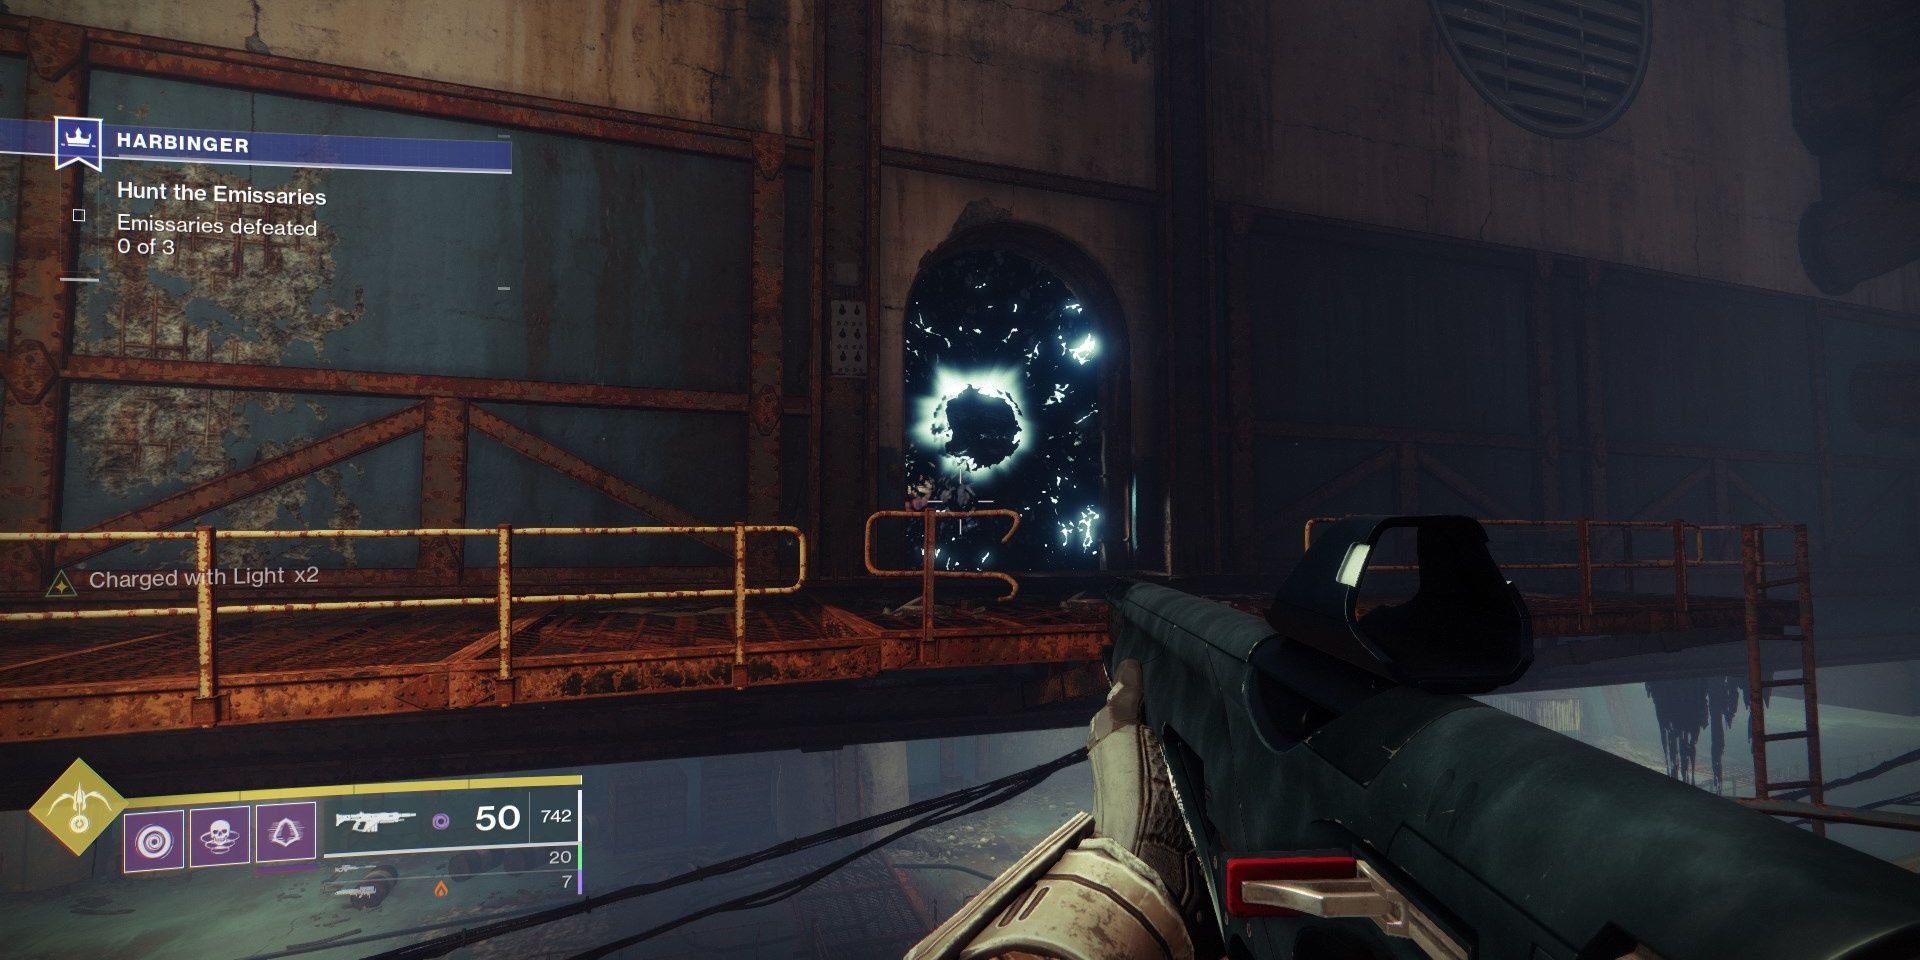
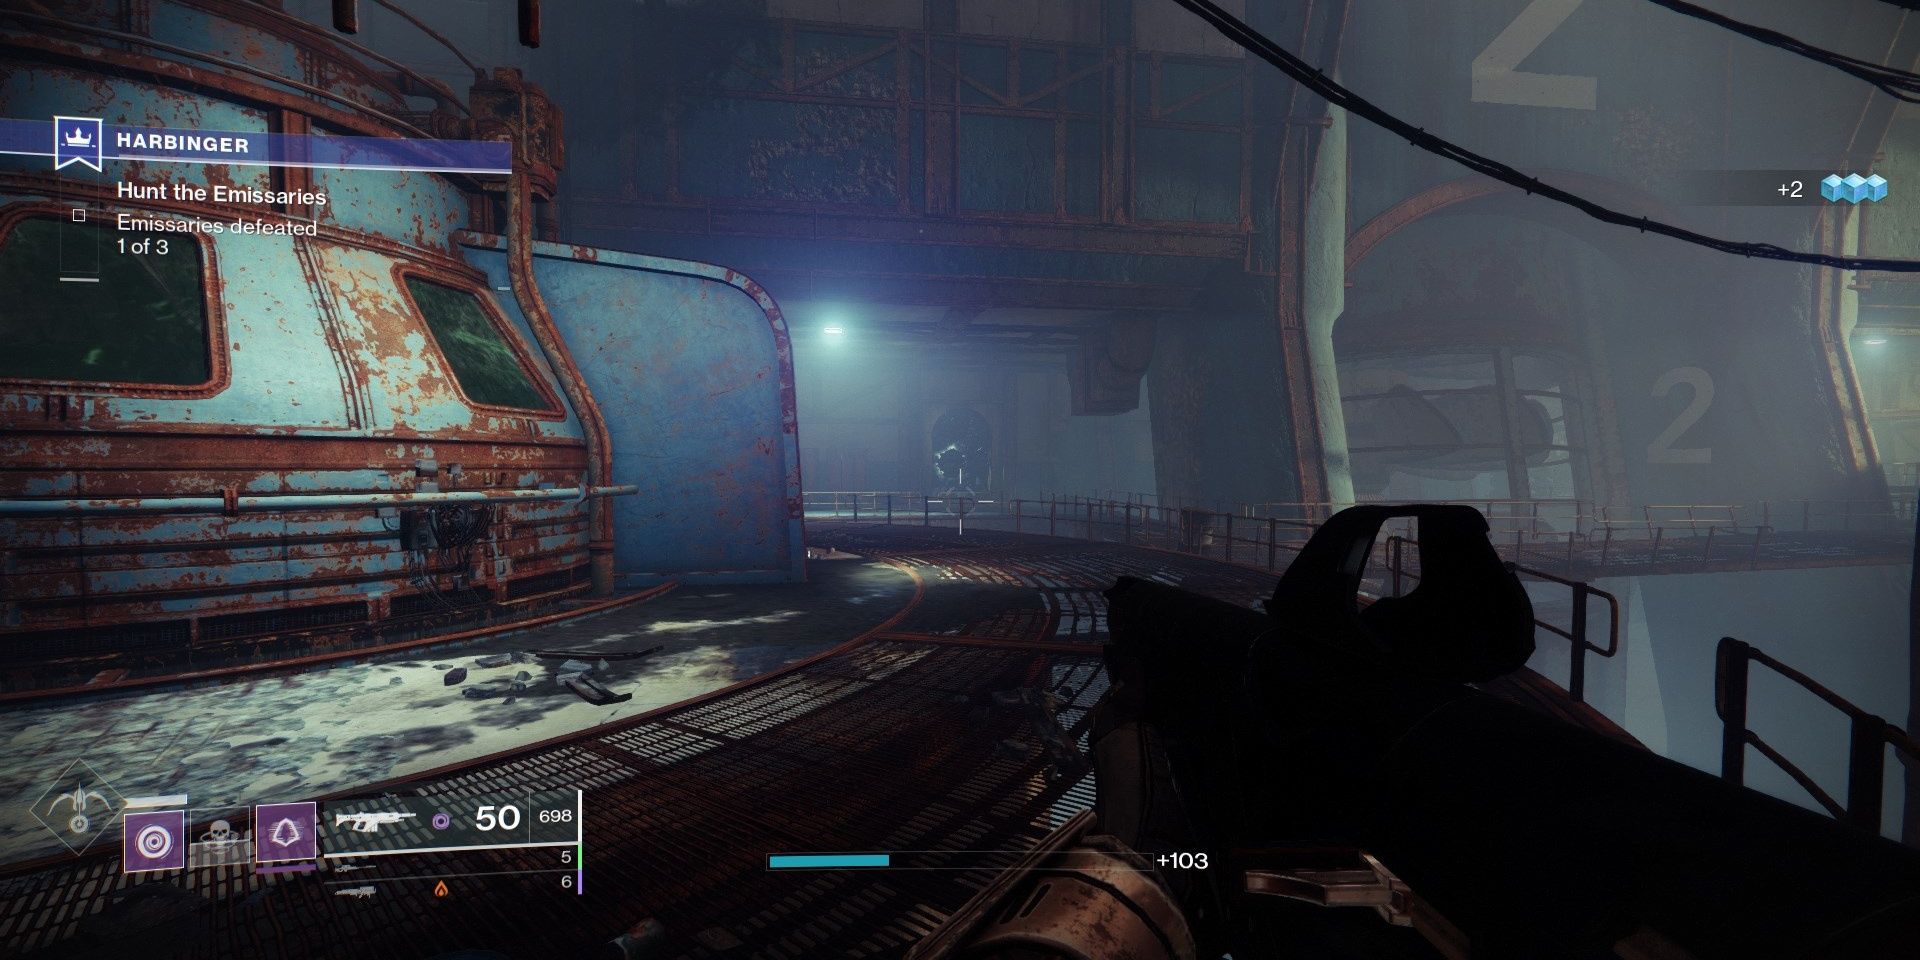
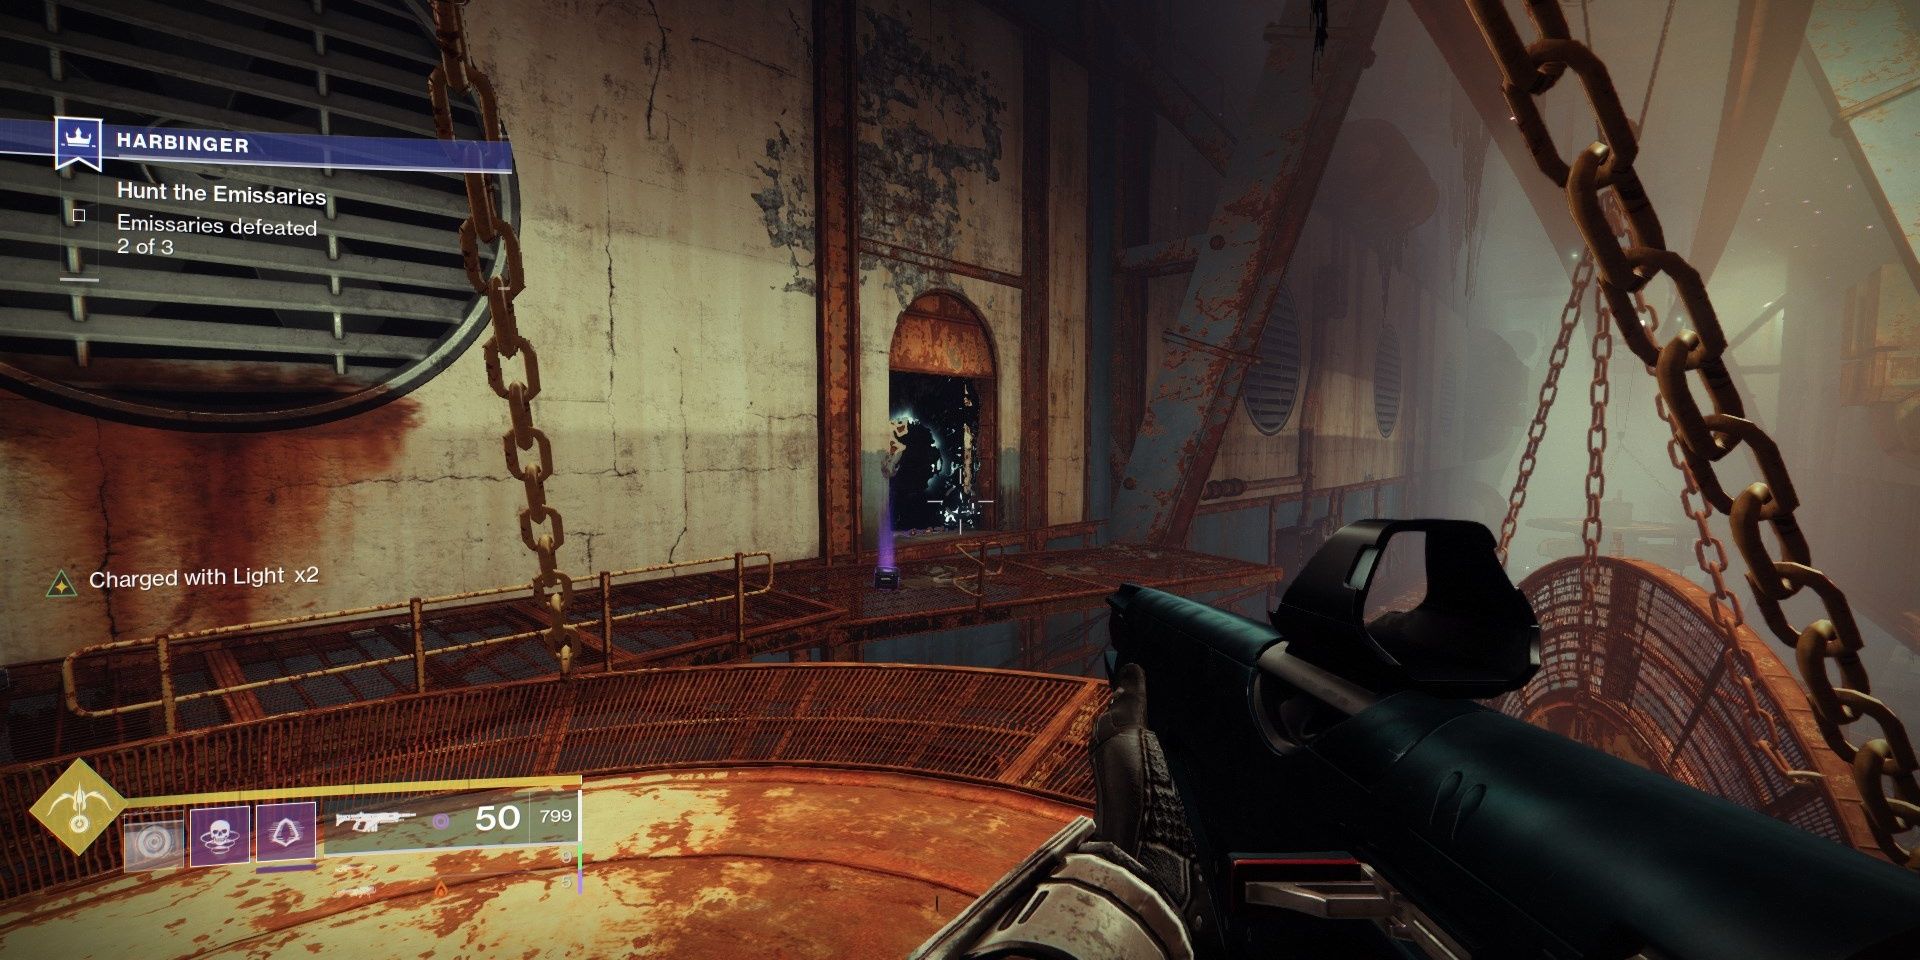
Hunt The Emissaries
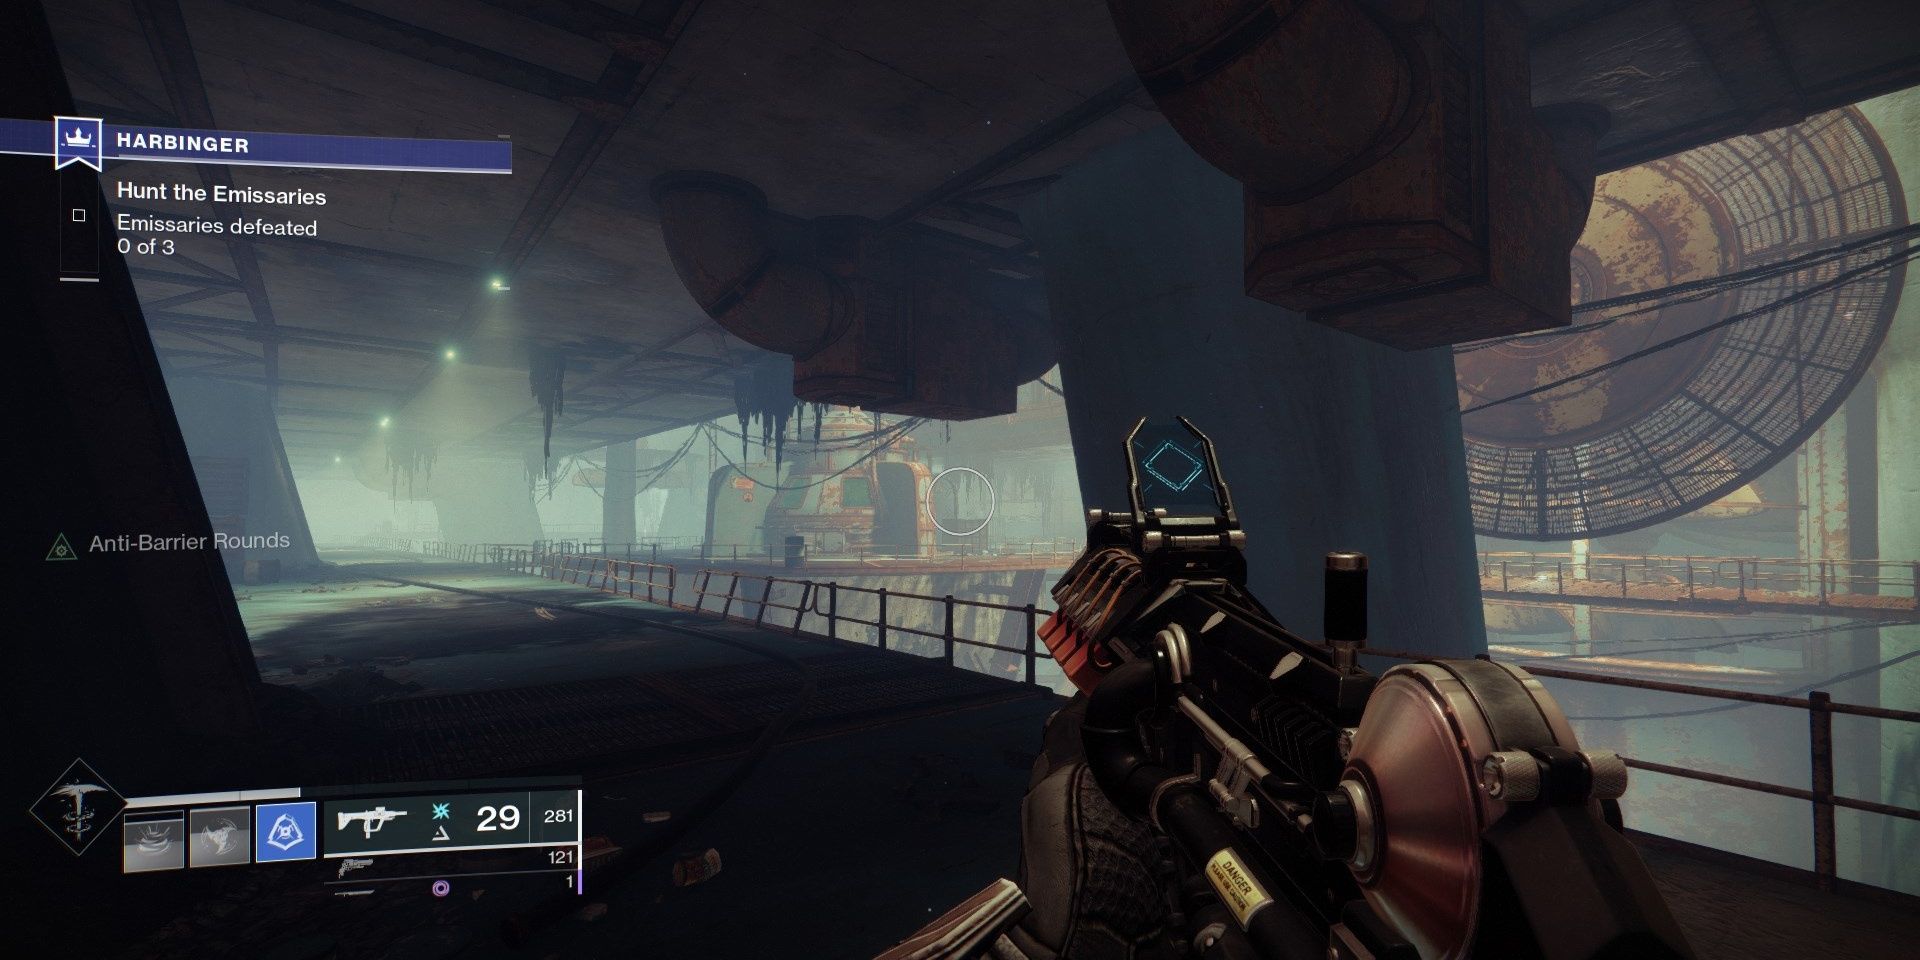
Three Taken minibosses must be slain to progress. There is a Taken Wizard, Phalanx, and Captain that must be killed in sequence. Upon entering the room, hang left to fight the Sorcerer miniboss. A swarm of Taken Goblins will accompany her. Impale the Goblins so she doesn't become invulnerable, so use a Void weapon to strip her shields. Xenophage and other Heavy weapons devastate her wellness bar.
Whenever a boss reaches half of their health, they will teleport to the floor above y'all. I of the doors in the room will and so be guarded by either a Vandal or Phalanx. That guard denotes the right room. Kill the baby-sit, destroy the Blight guarding the entryway, so proceed through the corridor to finish the boss off.
Wizard
She will travel directly to a higher place where y'all fought her. Jump up to the nearby metallic platform, kill the Vandal, and so keep through the hall. She tin can be found beside a small ring of Taken Goblins. Once dead, travel to the left of the room to find an exit.
Phalanx
The Phalanx will be to the right of where you get-go fought the Sorcerer. He will spawn multiple projectiles while Goblins make him invulnerable. Equally before, have down the Goblins before stripping his Arc shield.
Damaging the Phalanx volition cause the door at the other end of the turbine to abound a blight. Destroy the blight and accompanying Phalanx baby-sit. Taken Psions will patrol the second boss room, so be ready to take down a horde of Taken. If you wait to impale the Psions, they will multiply at a rapid stride. Cease the boss and all Taken inside before proceeding. The end of the room loops back to the final miniboss.
Captain
Once over again, travel to the right of where you fought the Wizard and Phalanx. This Helm uses Solar Shields and is accompanied by Taken Goblins. Bring the Captain to half health to have him retreat.
Backtrack to the other side of the room, keeping an eye out for a Taken Vandal on a platform overlooking the room. Destroy the door well-nigh the Vandal to reveal the path. When yous reach the circular room, head to the room on your right to notice the Captain.
Before you leave the circular room, head to the peak floor to find a feather lying on a box. Yous will receive 3 Paracasual Feathers for grabbing it.
With all three minibosses dead, double back to the entrance of this encounter. A waypoint will guide you lot to the next room. If the waypoint isn't visible, pull out your Ghost. The next encounter volition be in a big, circular room similar to the Lake of Shadows last boss room.
Survive
Before you commencement this encounter, equip a weapon with Unstoppable rounds. There will exist 3 Unstoppable Phalanxes this see, ii of which will spawn together.
Start the meet by dropping down to the circular floor in the center of the arena. Two waves of Taken Thralls and Wizards will spawn. A third wave will spawn in one case these enemies are dead, causing multiple Taken Vandals and an Unstoppable Phalanx to spawn. Immediately take care of the Vandals, using Xenophage or a Sniper Rifle to kill them apace. Before you kill the Unstoppable Champion, await for a major Phalanx at one end of the room. After defeating the major, kill the Champion.
One more moving ridge volition spawn soon after these enemies are dead, this time spawning 2 Unstoppable Phalanxes and a Taken Captain. Impale every enemy to finish the see. Make sure to loot the chest in the centre to obtain seven Paracasual Feathers. The leave to this run across is at the top office of the room.
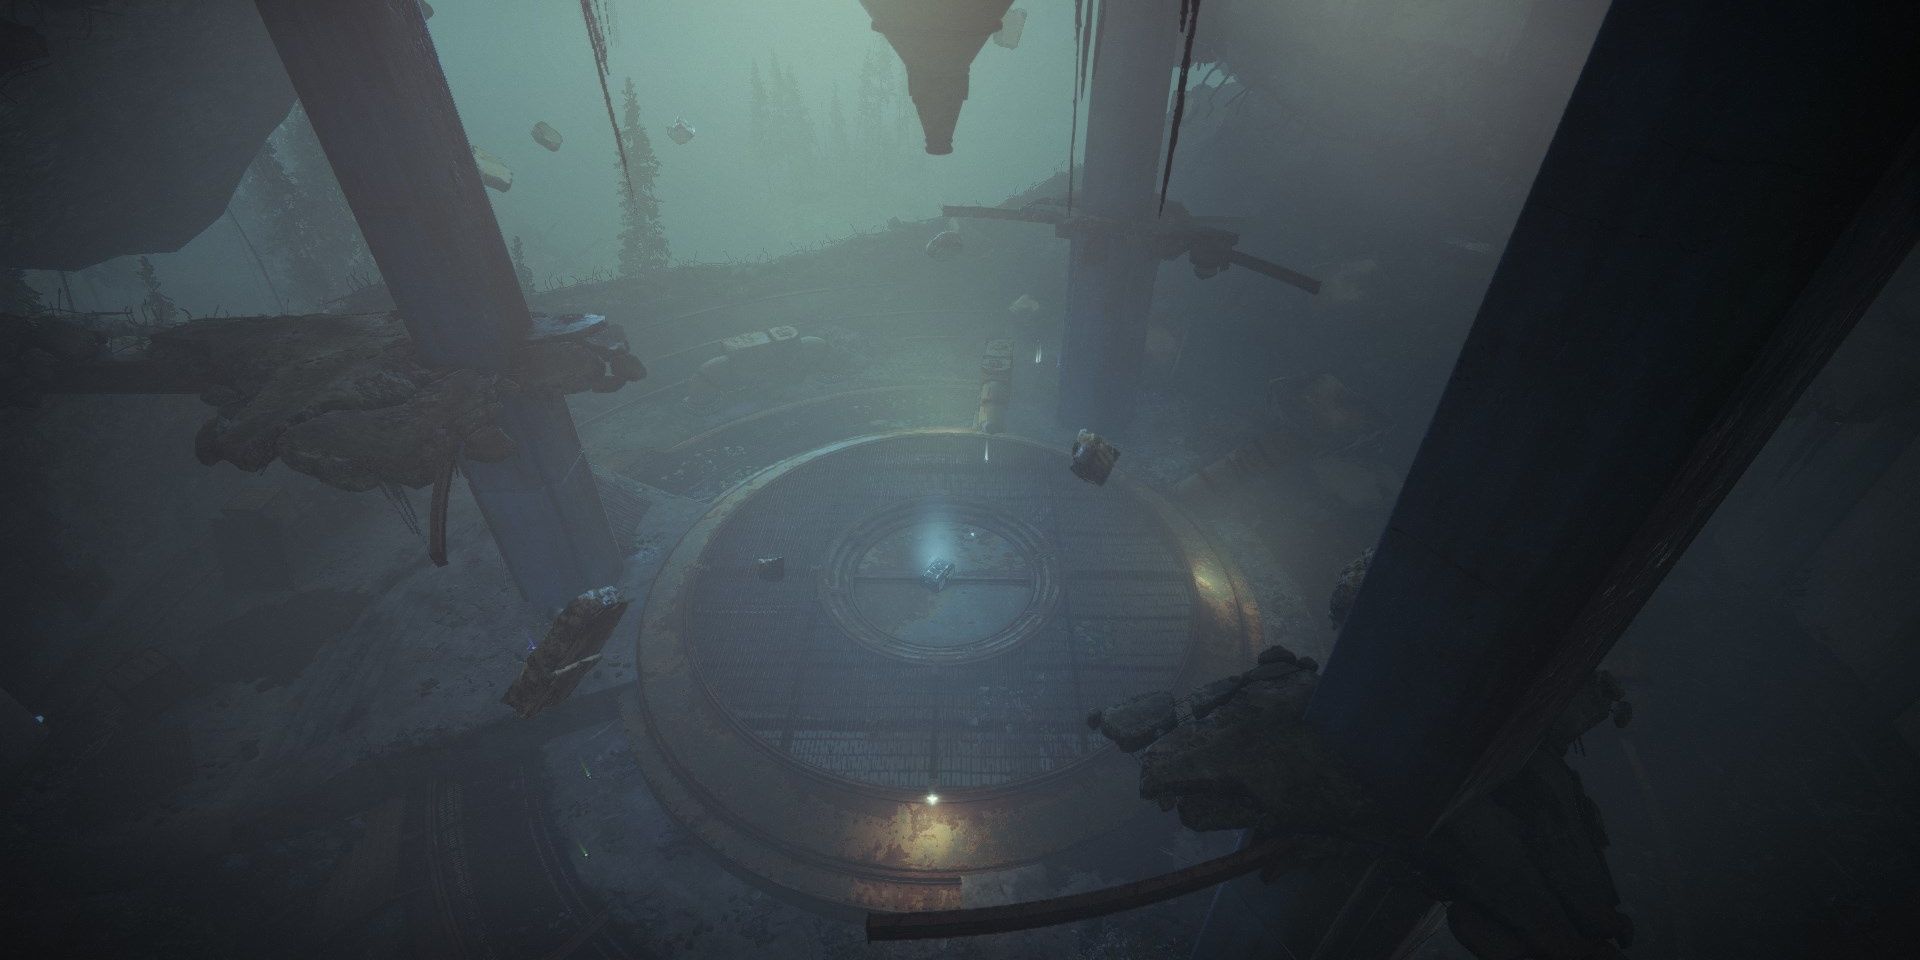
Reach The Shard
A portal will take y'all to the Hallowed Rift, the same area that y'all commencement plant Hawkmoon at. The path to the shard is the same as before; follow the platforms upwardly from the commencement room to reach the next section. In one case there, follow the pipage along a dilapidated wall to reach a linear path.
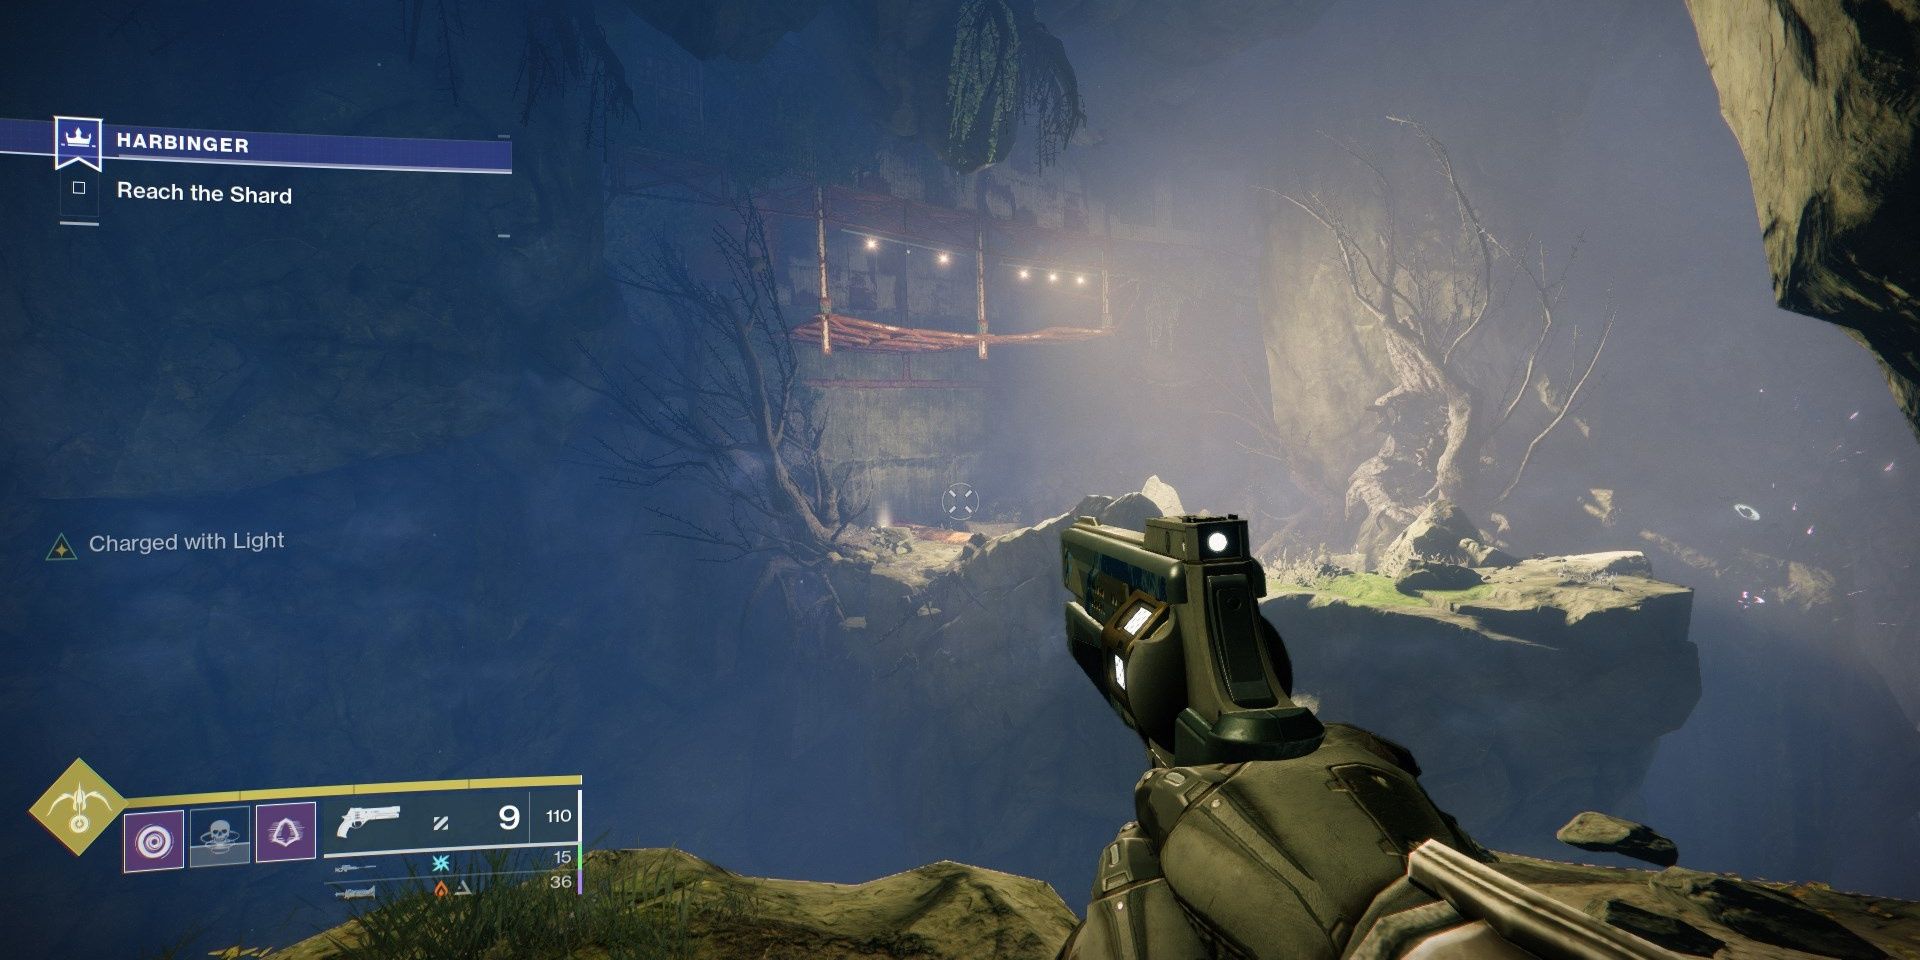
Four Paracasual Feathers can exist plant in this surface area. A box under a metal overhang has a feather you can grab. For clarity, the area looks similar this:
Catch it to receive four feathers. From there, follow the path guarded by Taken Hobgoblins to attain the shard. Guarding the entrance will be an Unstoppable Phalanx and a normal Taken Phalanx. Kill both to reach the shard.
Drive Savathun Out
Equip a Void Main weapon earlier attempting this final see. In that location are no Unstoppable Champions here, and so you tin can supercede your Unstoppable weapon with a Void Master if need be.
Y'all must defeat the Taken Knight dominate to stop this level. He will get invulnerable once it reaches around two-thirds of its full wellness, spawning a wave of Taken Acolytes in his stead. Use your Heavy weapon or a Sniper Rifle to impairment the Knight from a distance. Once it leaves, travel to the back of the room to find cover. Pick off the Acolytes with a Void weapon as fast as possible. The longer the Acolytes stay alive, the more than Acolyte Eyes that spawn. Killing enough of them will spawn Taken Knights with Solar shields. Xenophage volition make short work of them.
Defeating every Acolyte and Knight volition spawn the boss once more. He will disappear over again when he reaches the terminal third of his health. Taken Goblins will now begin to spawn aslope the Acolytes and Knights. Defeat all of them to spawn the boss ane final fourth dimension. Finish off the final third of its health bar to complete this mission. To receive your randomly-rolled Hawkmoon, open the chest that spawns beside the Traveler Shard. Completing this mission for the first time grants ii Hawkmoons and Hawkmoon's Exotic Catalyst.
Should you wish to brave this level again, y'all tin do so past queuing the "Harbinger" mission from the EDZ Director. Note that this mission only grants Hawkmoon on your first completion each week.
About The Author


How To Start Hawkmoon Quest Season 15,
Source: https://www.thegamer.com/destiny-2-hawkmoon-random-rolls-quest-guide/
Posted by: smithblem1990.blogspot.com
0 Response to "How To Start Hawkmoon Quest Season 15"
Post a Comment